 How can I adapt the crank handle to the x-axis shaft?
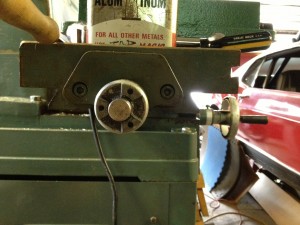
I bought a used drill/mill but it was missing the original left side x-axis crank handle. A handle from a different machine was included with the purchase but it needed to be modified to fit. As you can see in the first pic, the facing end of the shaft has triangular slots. Unfortunately the crank handle only had a set screw hole. Also, the bore in the crank handle needed to be enlarged to fit the center shaft. I don’t have a pic of it here, but I mounted the crank handle in my lathe and bored the hole to the correct diameter.
 How do I hold the crank handle for machining?
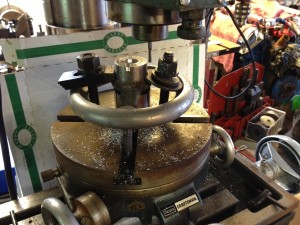
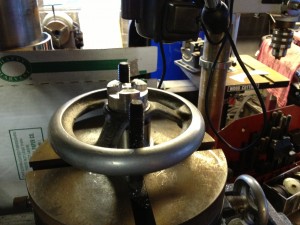
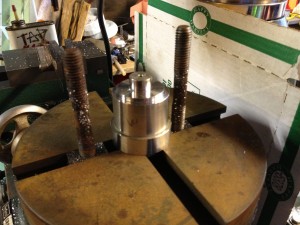
The next interesting problem was figuring out how I could hold the handle to machine the slots. I have an older Craftsman rotary index table that has a circular bore in the center of the top of the table. I used a piece of aluminum with one end turned to the size of the hole in the index table and the other end turned to the size of the hole in the crank handle. That way I could locate the centerline of the handle through the centerline of the index table, thus enabling me to easily index around the center of the crank handle hole and machine the slots at the correct angles.
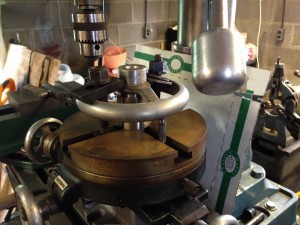 Holding the handle down was a bit tricky, but fortunately there was a step on the back of the handle shaft.
I first used an indicator mounted on the mill spindle to locate the centerline of the crank handle.
If you look at the end of the z-axis shaft in the first pic, you should notice that the edge sides of the steps pass through the centerline of the shaft.
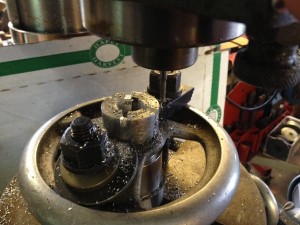 One edge of the cutter was offset so that it passed through the centerline of the handle. This was done three times, with the rotary table being indexed 120 degrees for each of the second two passes.
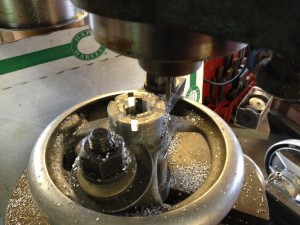 Now you should be able to see the outline of the three steps. Next the extra material between the steps was removed and the handle was deburred.
The slots were a bit too tight, so after a bit of hand work with a file…
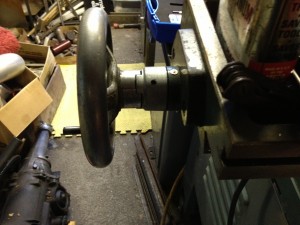 Vwaa laaa. Now I have a crank handle for each side of the mill. The last step was to drill a hole in the end of the shaft for a 1/4-20 screw to hold the handle.

